We're back with another how-to guide, in which we talk through fuel pumps and what to do if one of them stops working. You can watch the video guide in full on our YouTube, or keep reading below for the step-by-step instructions. Here we are using the SU AZX1405 Dual HP Electric Fuel Pump (Dual Polarity) and SU AUA25 LP Electric Fuel Pump (Dual Polarity), both of which are old used units as instructional examples.
For very old and well-used pumps, one of the main issues you may find that goes wrong with them is the valves, which for AZX 1300 & AZX 1400 series pumps are held against the body by a sandwich plate.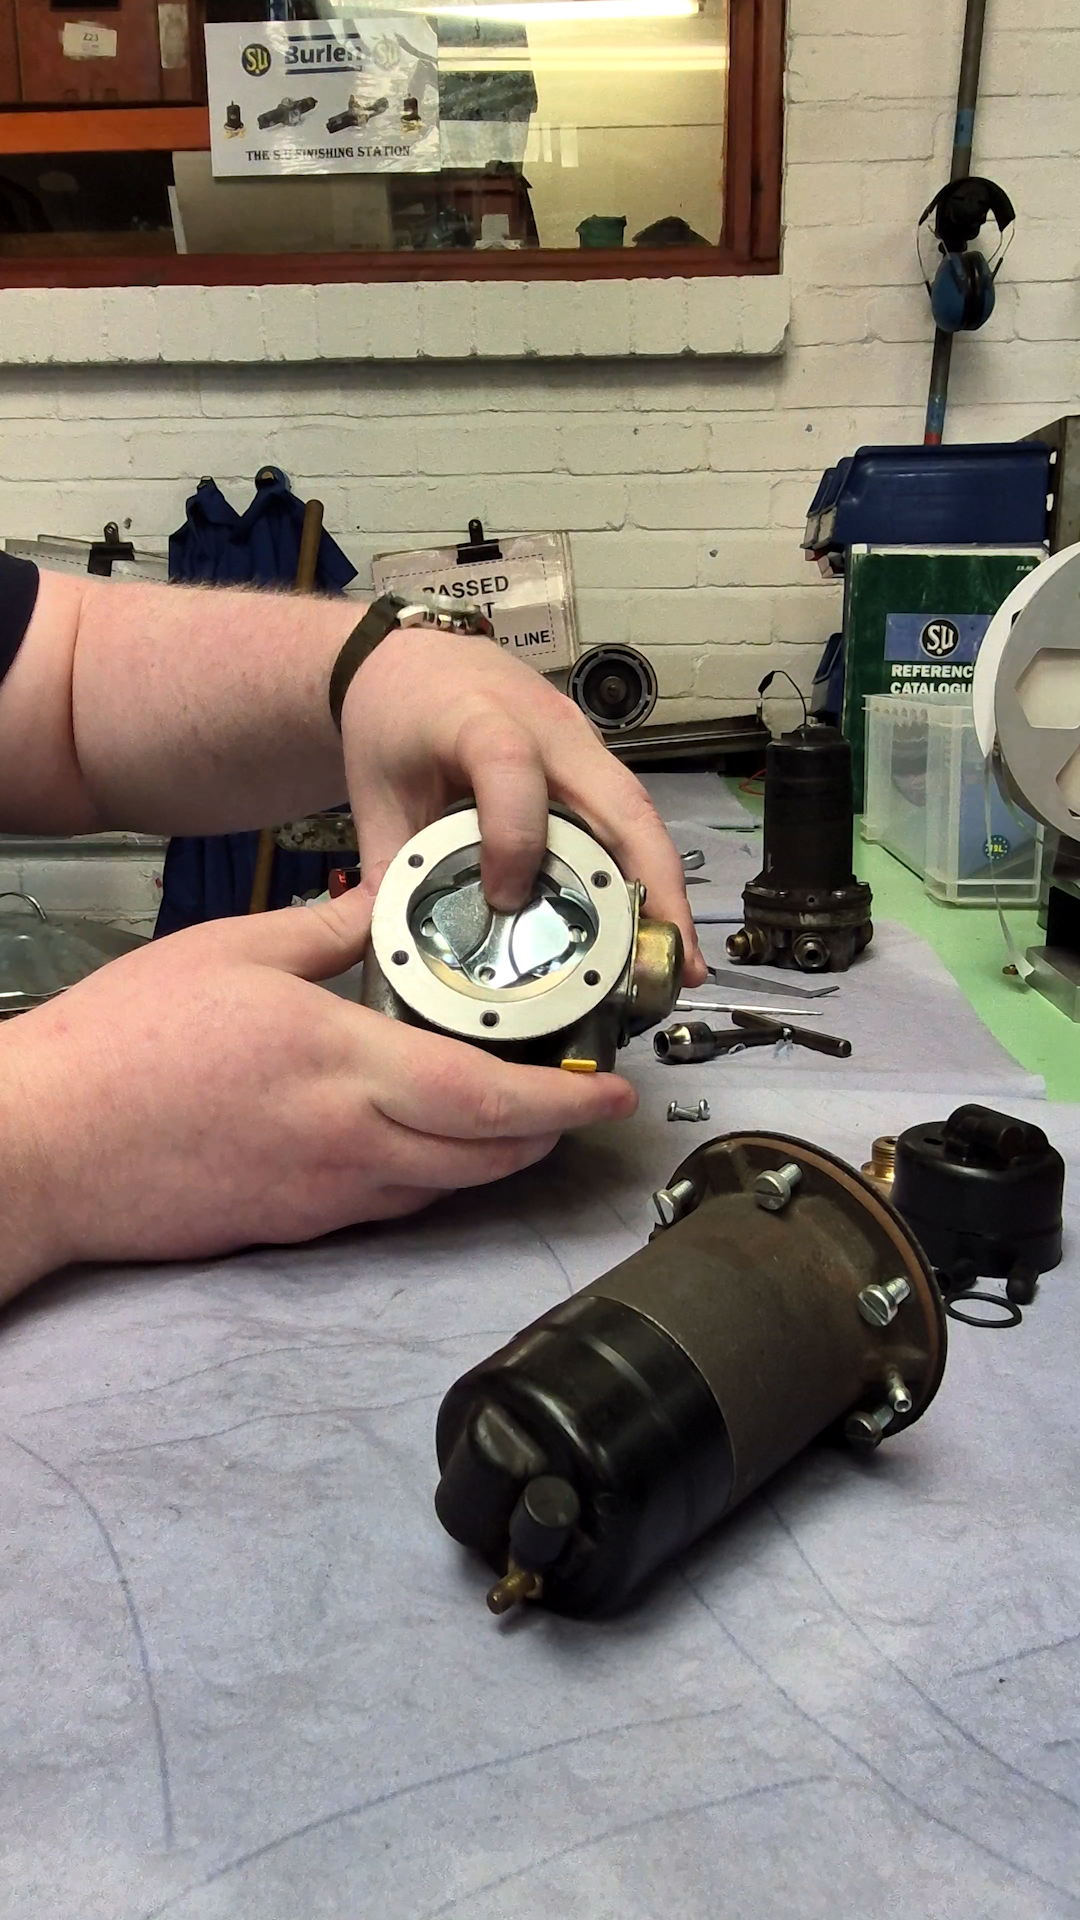
The valves are fantastically well made, however if there is any debris being pulled through the system from the tank, these can seize and stick. The little disc inside the valve needs to be able to rotate freely.
If the disc is catching even ever so slightly due to debris, this means that the valve disc won't shut properly when the pump is operating; which means that you will continually hear ticks, preventing the pump from delivering fuel correctly and holding under pressure.
They are really easy to swap if you need to do it at home; all you've got to do is remove the coil housing from the body. (In the video, we’ve kept the coil housing in one piece so all the brass armature guides are still in there, otherwise they'll fall across the floor and they're a nightmare to pick back up again!)
Once the coil assembly is off, you'll then find a sandwich plate bolted over the top of the valves. Unscrew that, and you’ll see a pair of what we call ‘Pepper Potts’ which sit on top of the valve.
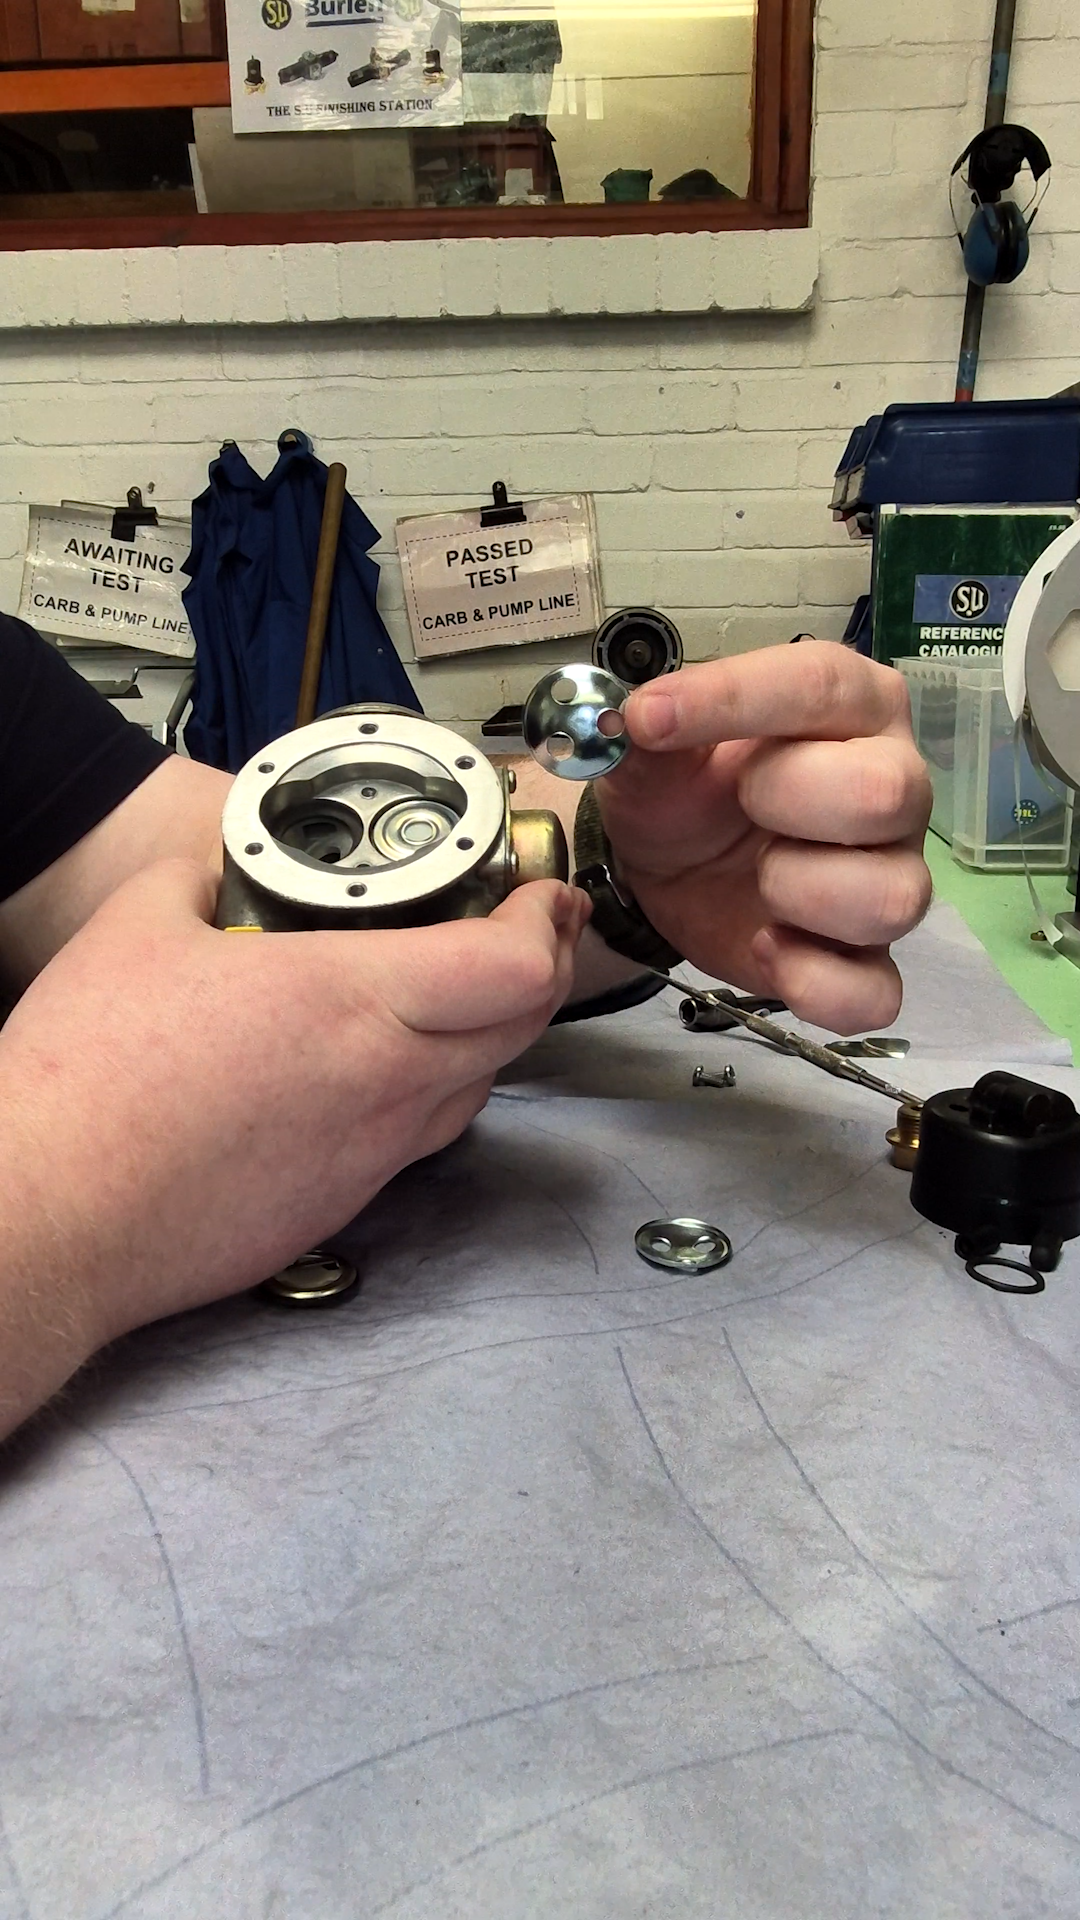
These can be pried off, then the valves can be taken out easily. It might take a little bit of fiddling if the pump has been left standing for a while however, because the gaskets can sometimes seal to the valves.
A set of pliers or other small tool, with just a little bit of force, can help dislodge an old gasket from the valve. Take care not to use too much force, as you don’t want to distort the valve.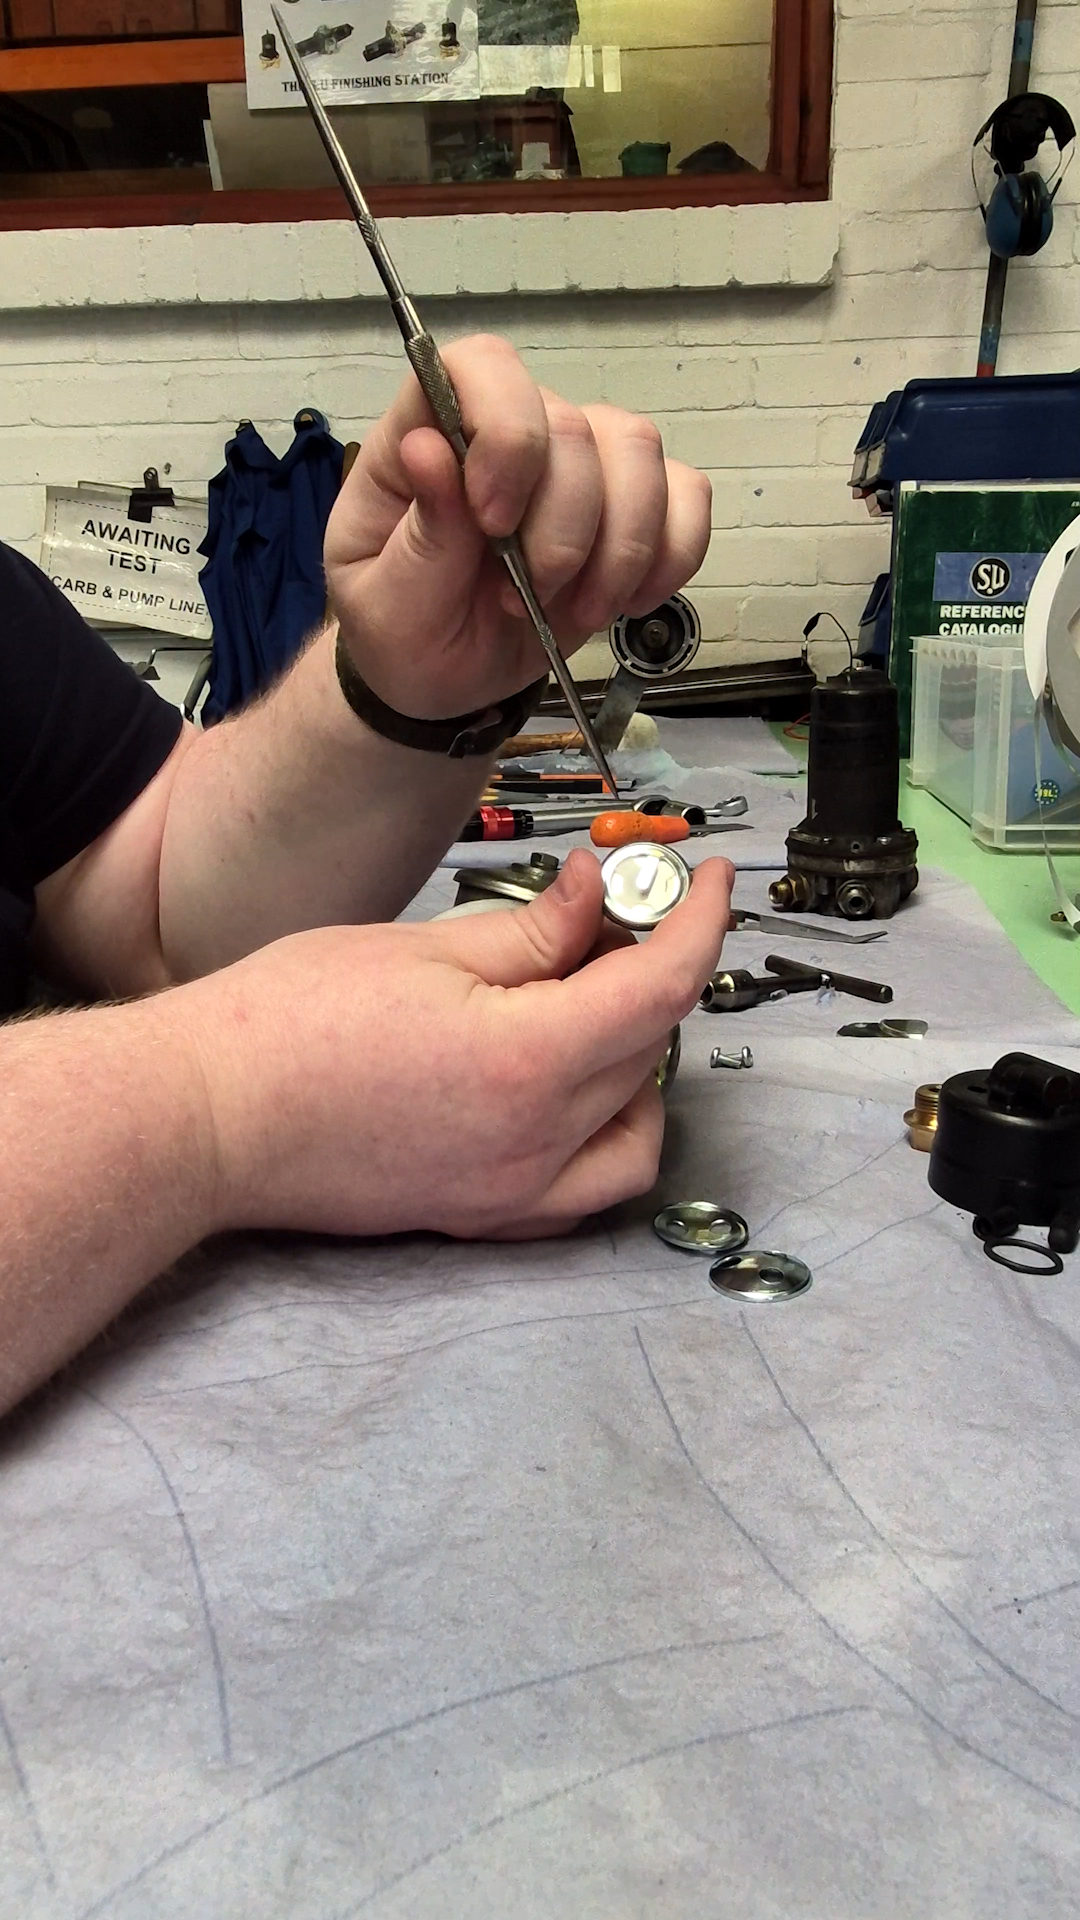
On the back is the filter assembly. While these filters do catch most things, if you've have very fine silt from dried fuel running through your fuel system, they can occasionally get stuck and work their way through, and all it will take is the smallest little bit just to catch in there so the disc won’t move anymore.
If something like that happens, it is easy to repair. The valves are available from stock if you want to do it yourself. Instructions for re-assembling the pump with new valves can be found within our technical article here.
We also have one of our AUA 25 low pressure pumps, which was dropped off by a customer for inspection and repair: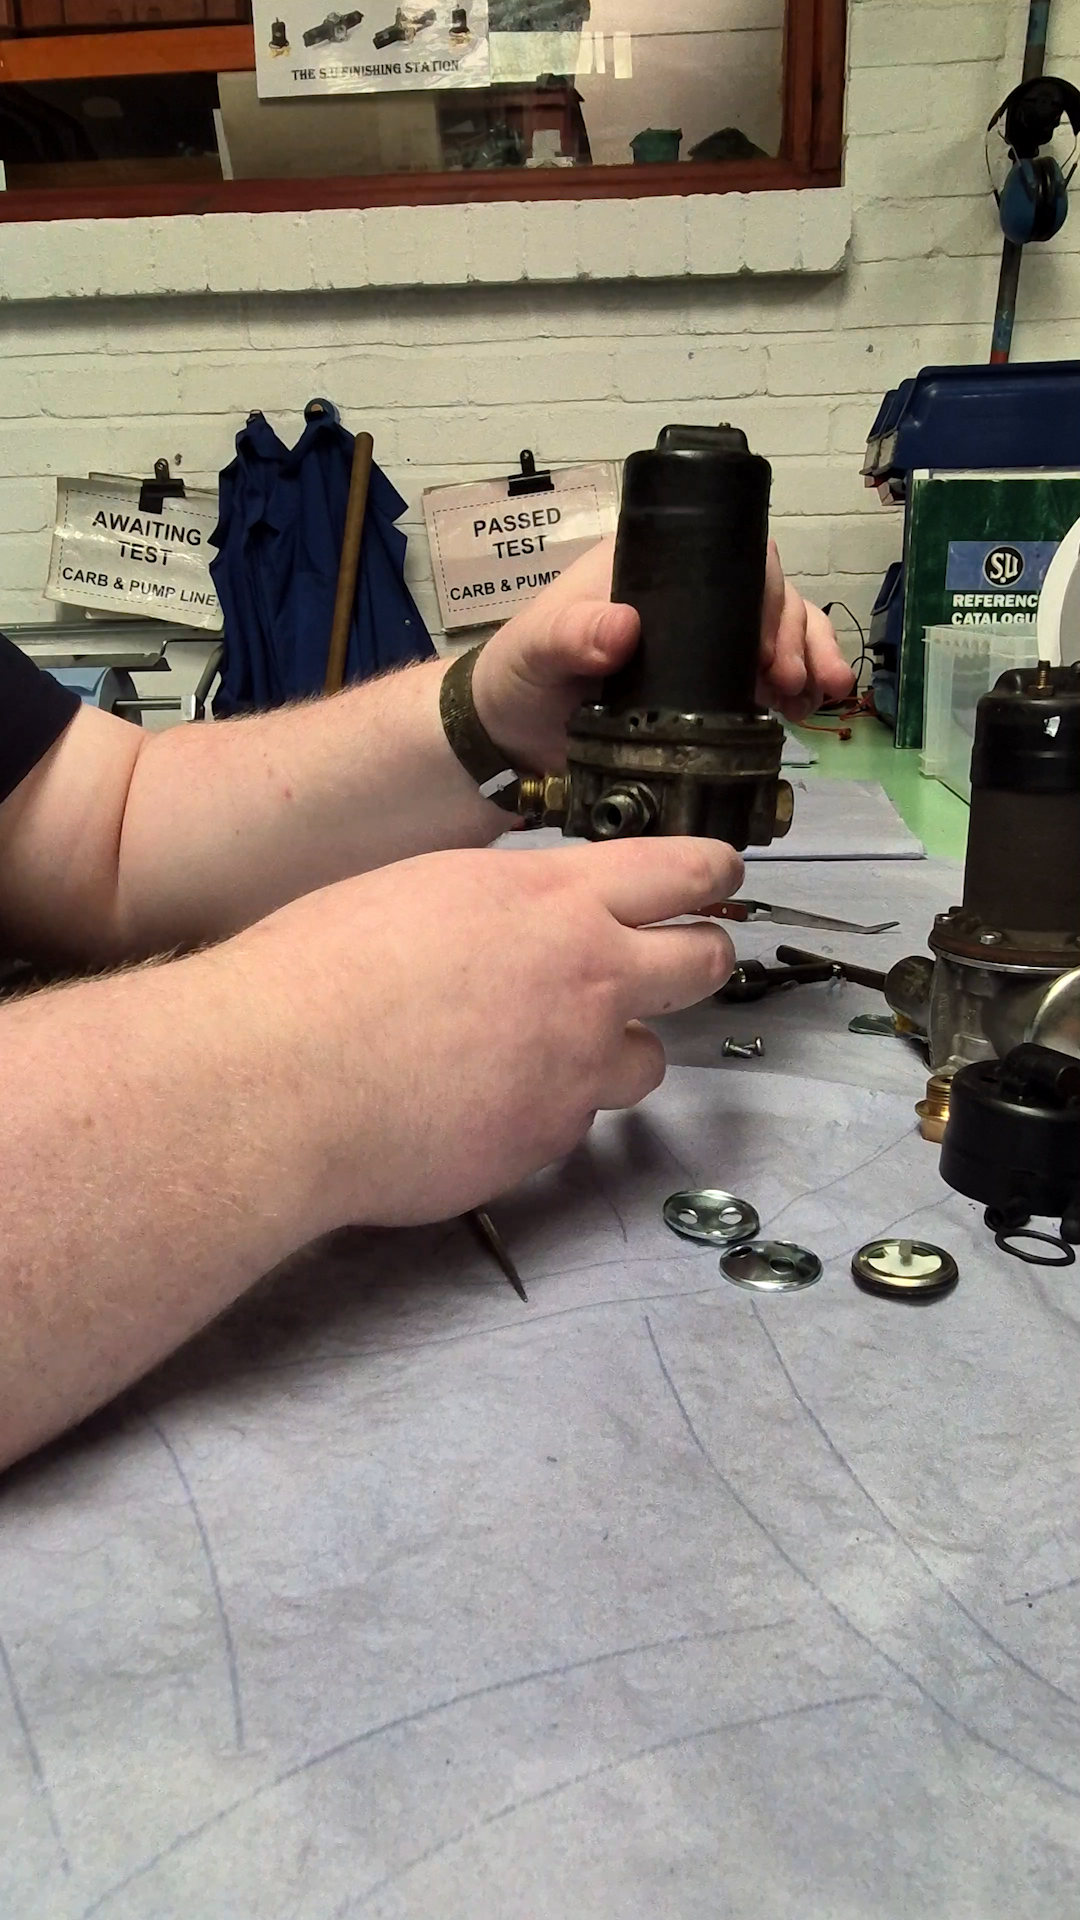
Like the AZX 1300 & AZX 1400 series pumps, with age one of the key things to go wrong with the AUA 25 model is the valve assemblies. The valve design on these is slightly different. Unscrew the outlet union and you will see the valve cage inside; this brass valve cage has a small brass disc in it. You want to make sure the disc is free moving.
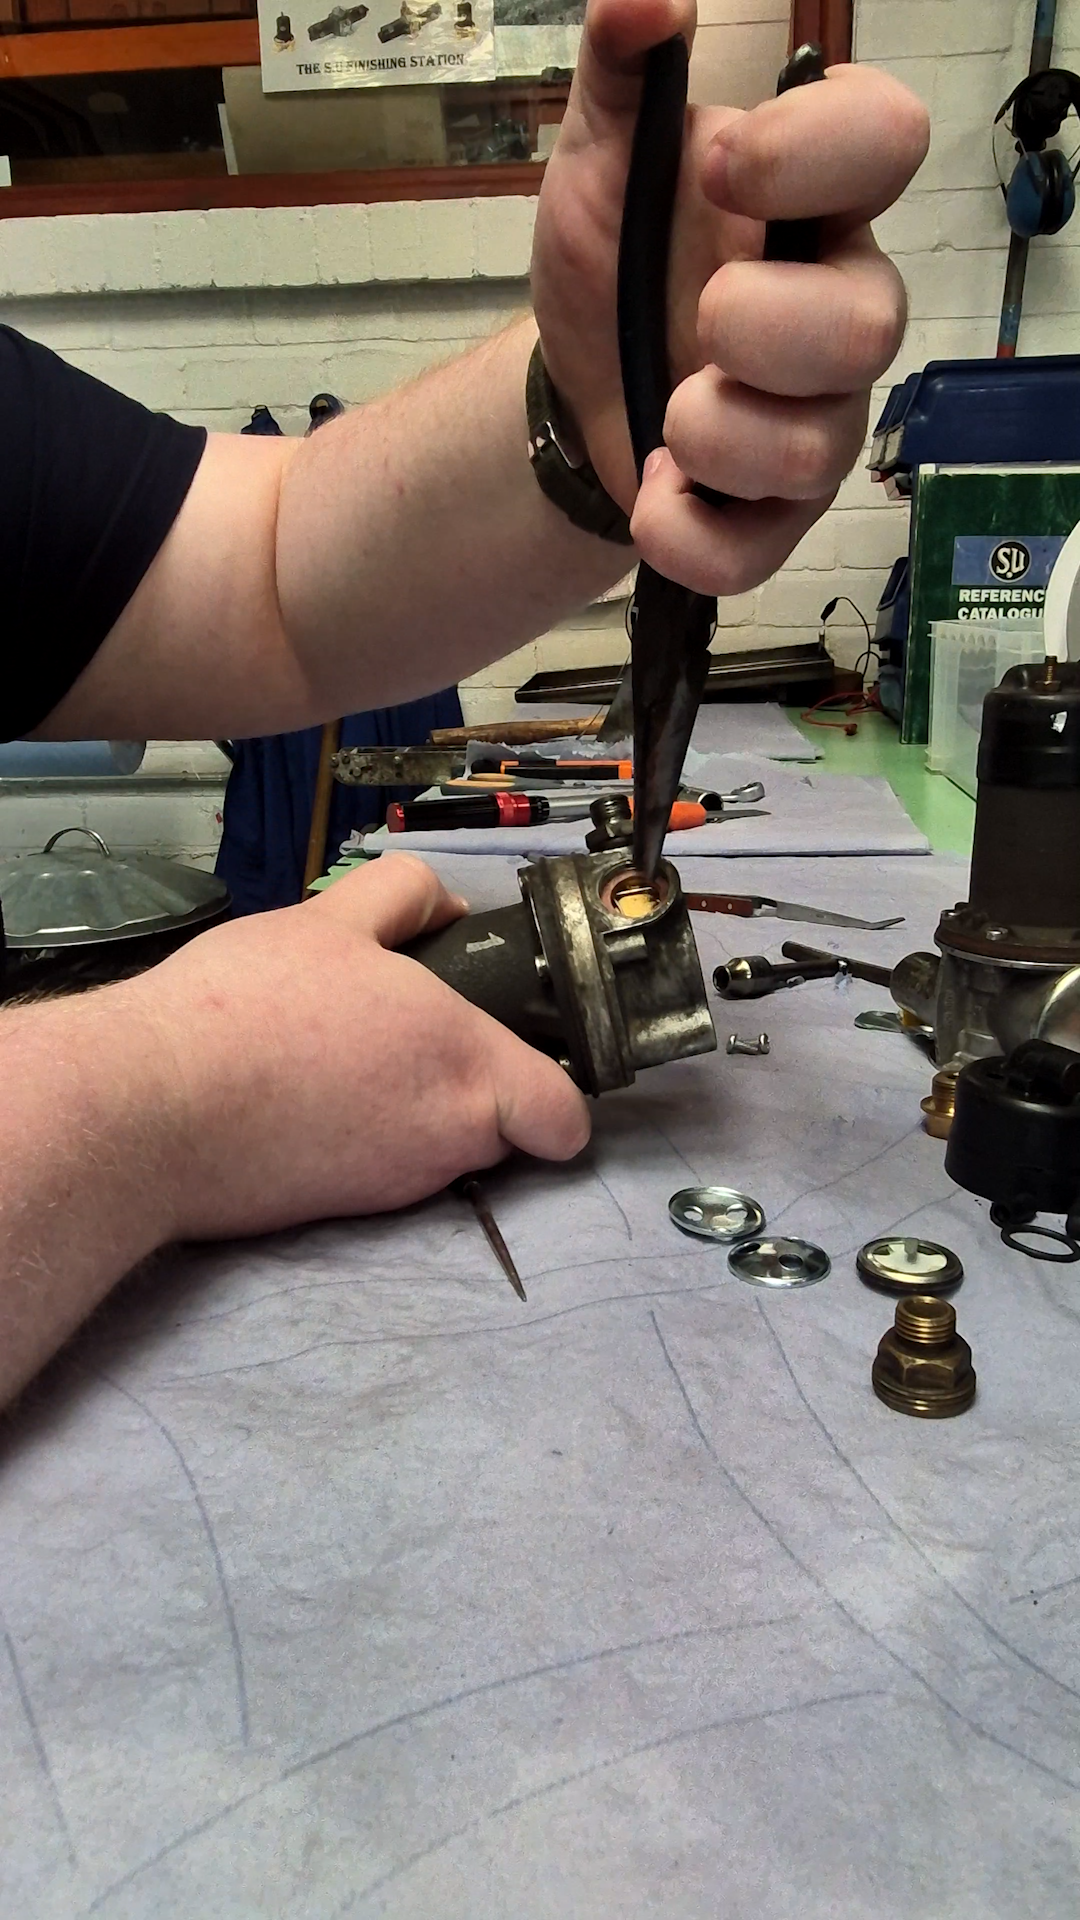
If the disc is locked in position, then the pump won't work because there's nowhere for the fuel to go through. Simply give it a little shake, and you should hear the disc move within the cage, indicating the valve is moving freely.
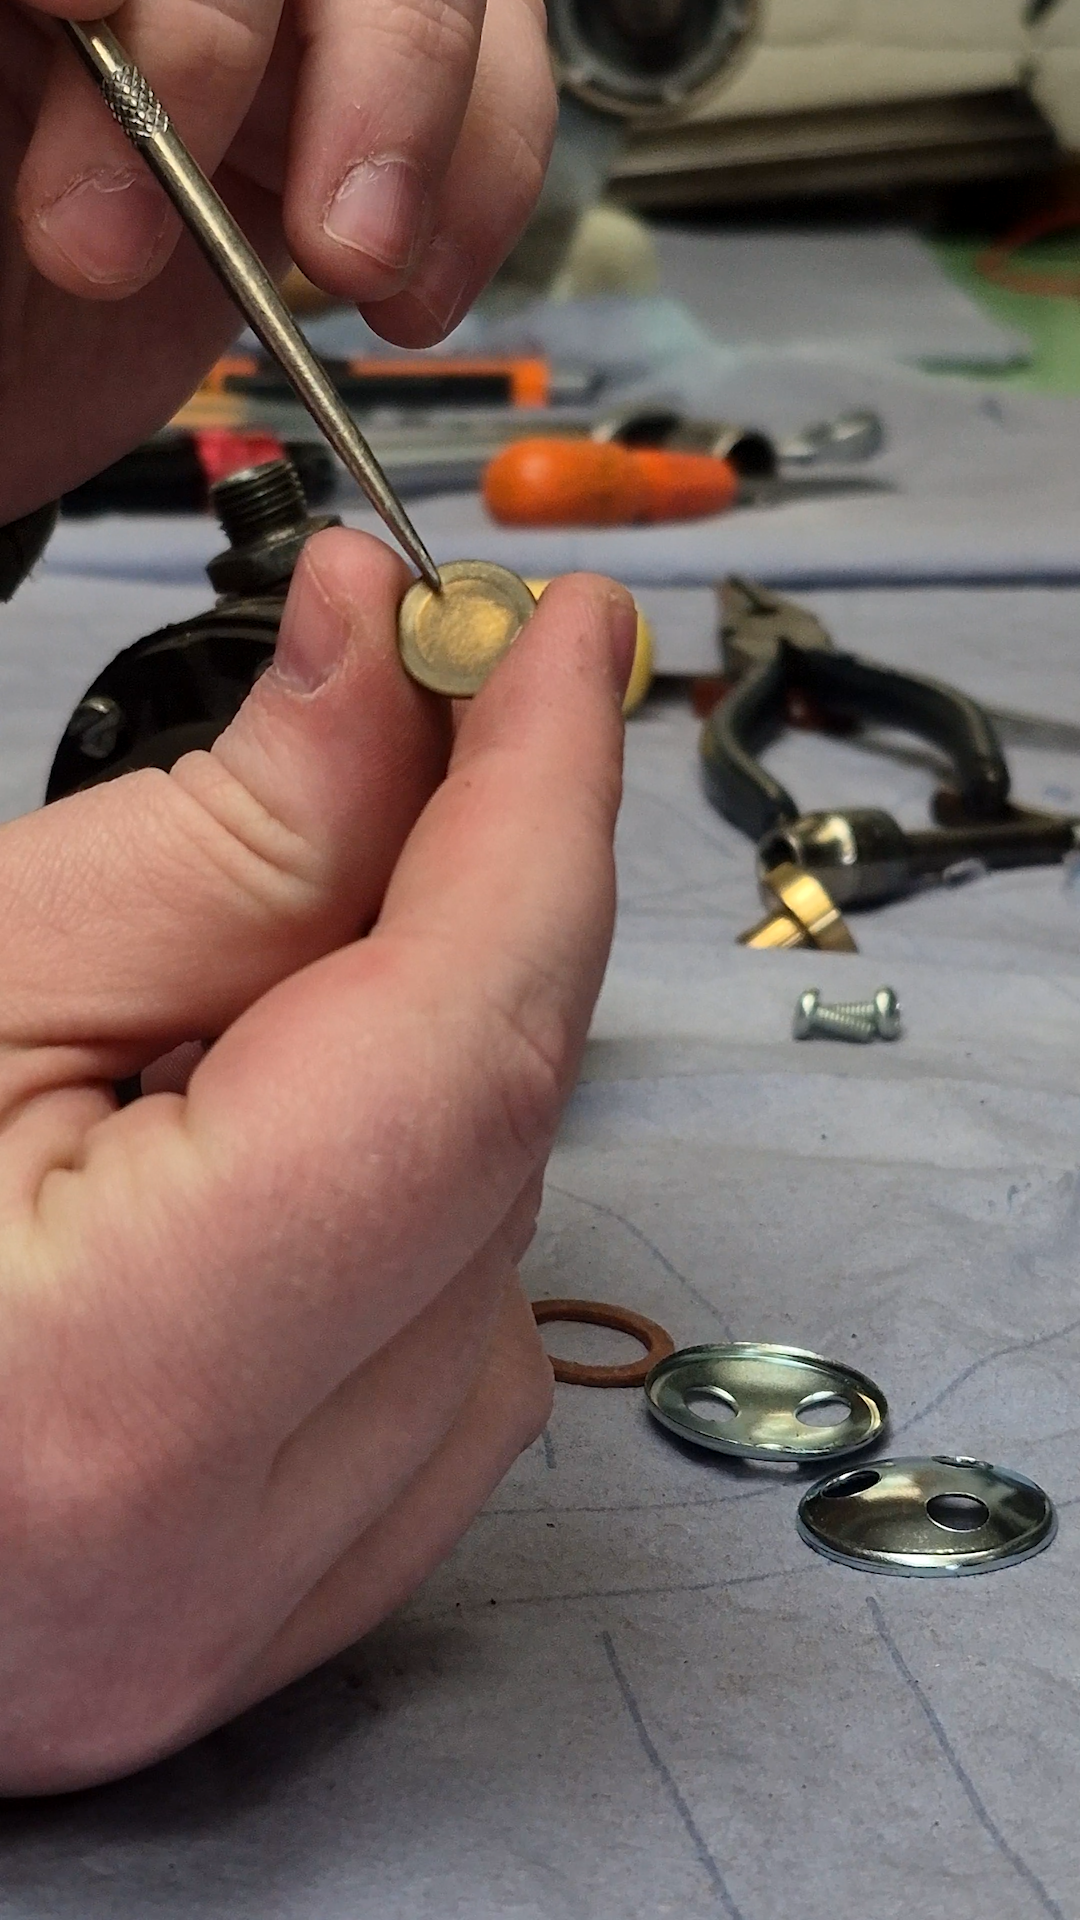
On the newer models of AUA type fuel pumps, there is a new, small plastic disc. Older models traditionally used a brass disc, but this disc can seize over time especially with the higher ethanol content in modern fuels. If the pump is left to sit for any length of time, you get that gunky residue which can stick things in place.
A little ring or residue marks around the outside of the disc indicates fuel buildup, where it's been left to stand for a length of time. This is one of the main things that can go wrong with a fuel pump, so it’s important to service your fuel pump if your car has been unused for a long time.
One of the other things to bear in mind is, depending on the age of the pump, sometimes the diaphragm can seize. The diaphragm material should be fairly flexible to allow that fuel pump to continue working. Where it's left to stand for a long period of time, the diaphragm can harden, which means you'll get less response from your fuel pump; giving a lower flow rate and lower pressure running through it.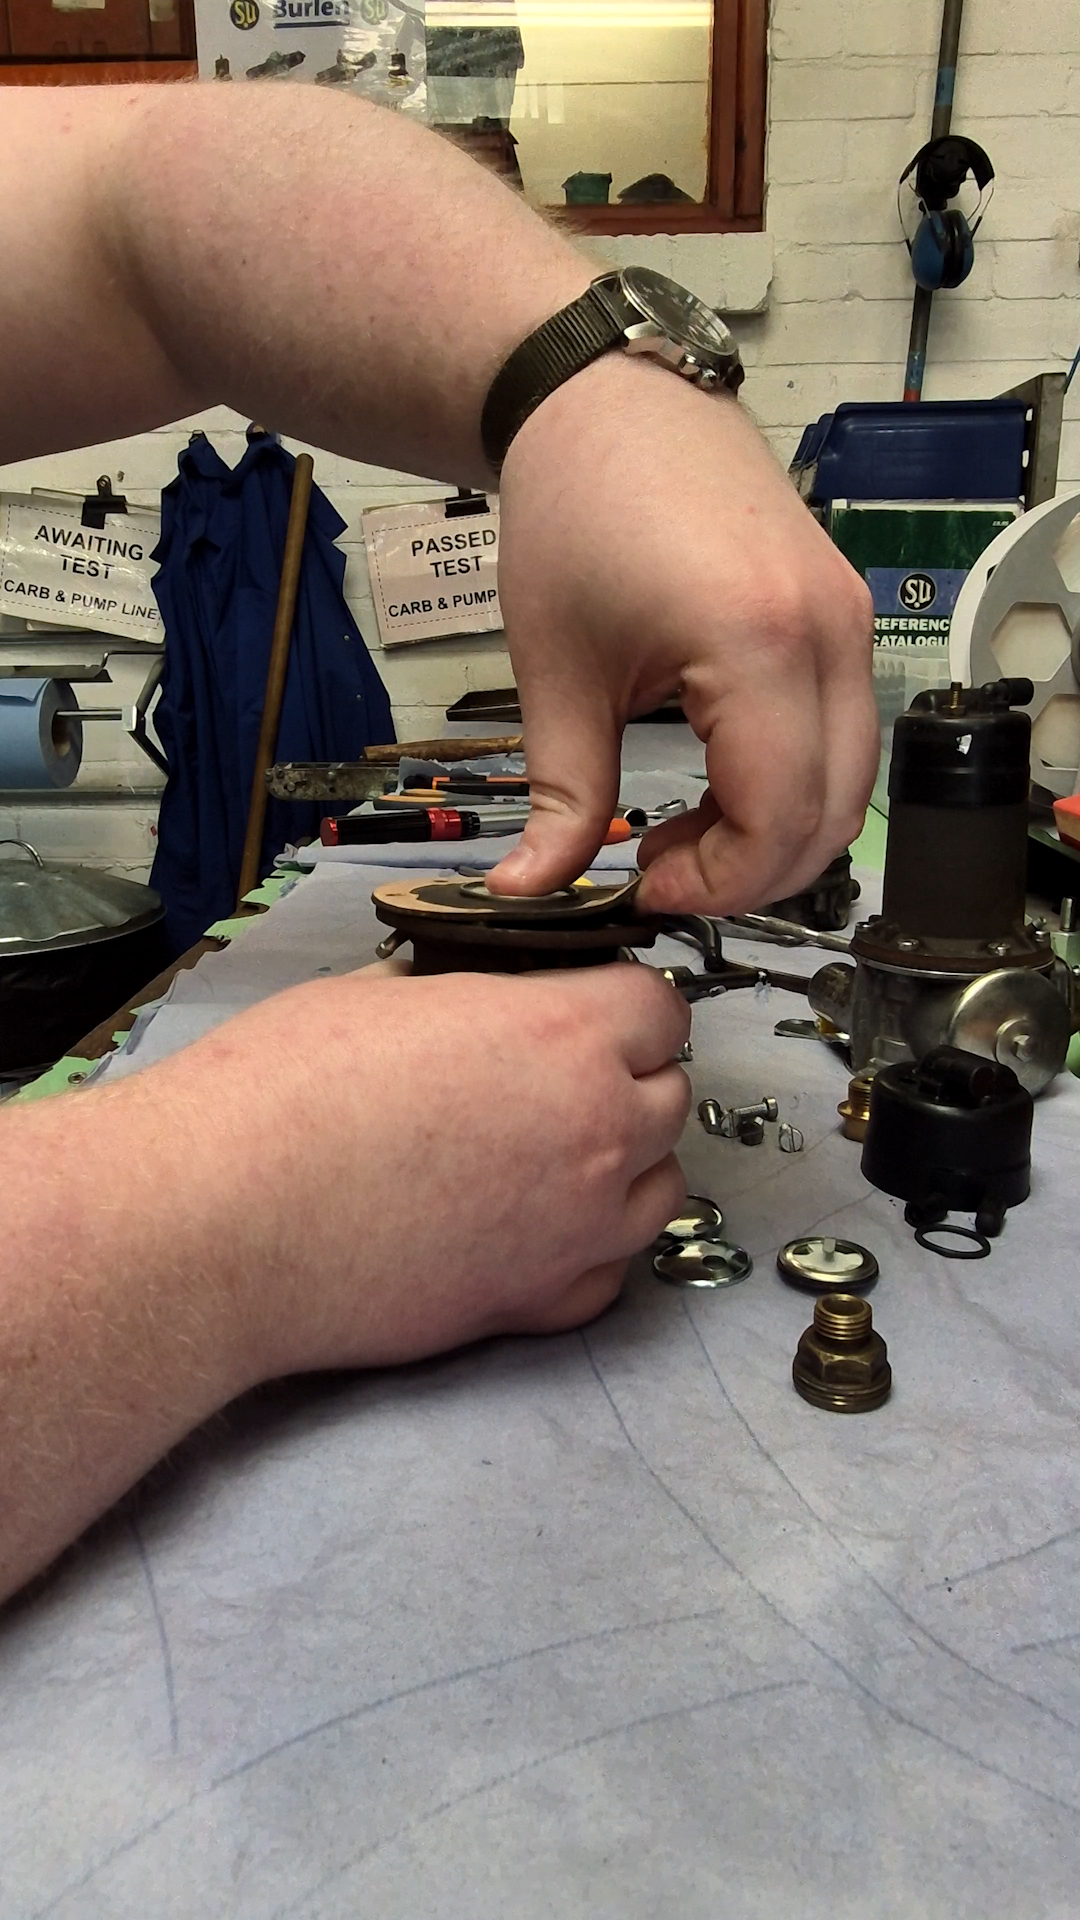
If a diaphragm seizes, it can go rock solid, and you might have to carefully pry this away with a thin flat screwdriver to free it from the coil housing, taking care not to puncture the material.
When the diaphragm needs replacing due to wear, these are available as part of our EPK repair kits, which contain all the necessary components to rebuild the interior of your fuel pump. Included in these repair kits are diaphragms, rocker assemblies, armature guides, gaskets and seals, contact blade, and more.
If you're not confident about rebuilding the fuel pump yourself, we recommend contacting our customer service team for advice. Also, sometimes due to the age of a pump, it may be sensible to consider replacing it with a new unit. Our team can advise you based on the type of issue you are having.
One other component to check on all models of pumps is the contact blade, which with age can potentially stick if it’s not oiled and cleaned correctly. As you can see from the rocker assembly on top, you have the rocker and the contact blade sits beneath. There are two sets of points, one on the contact blade and one on the rocker itself.
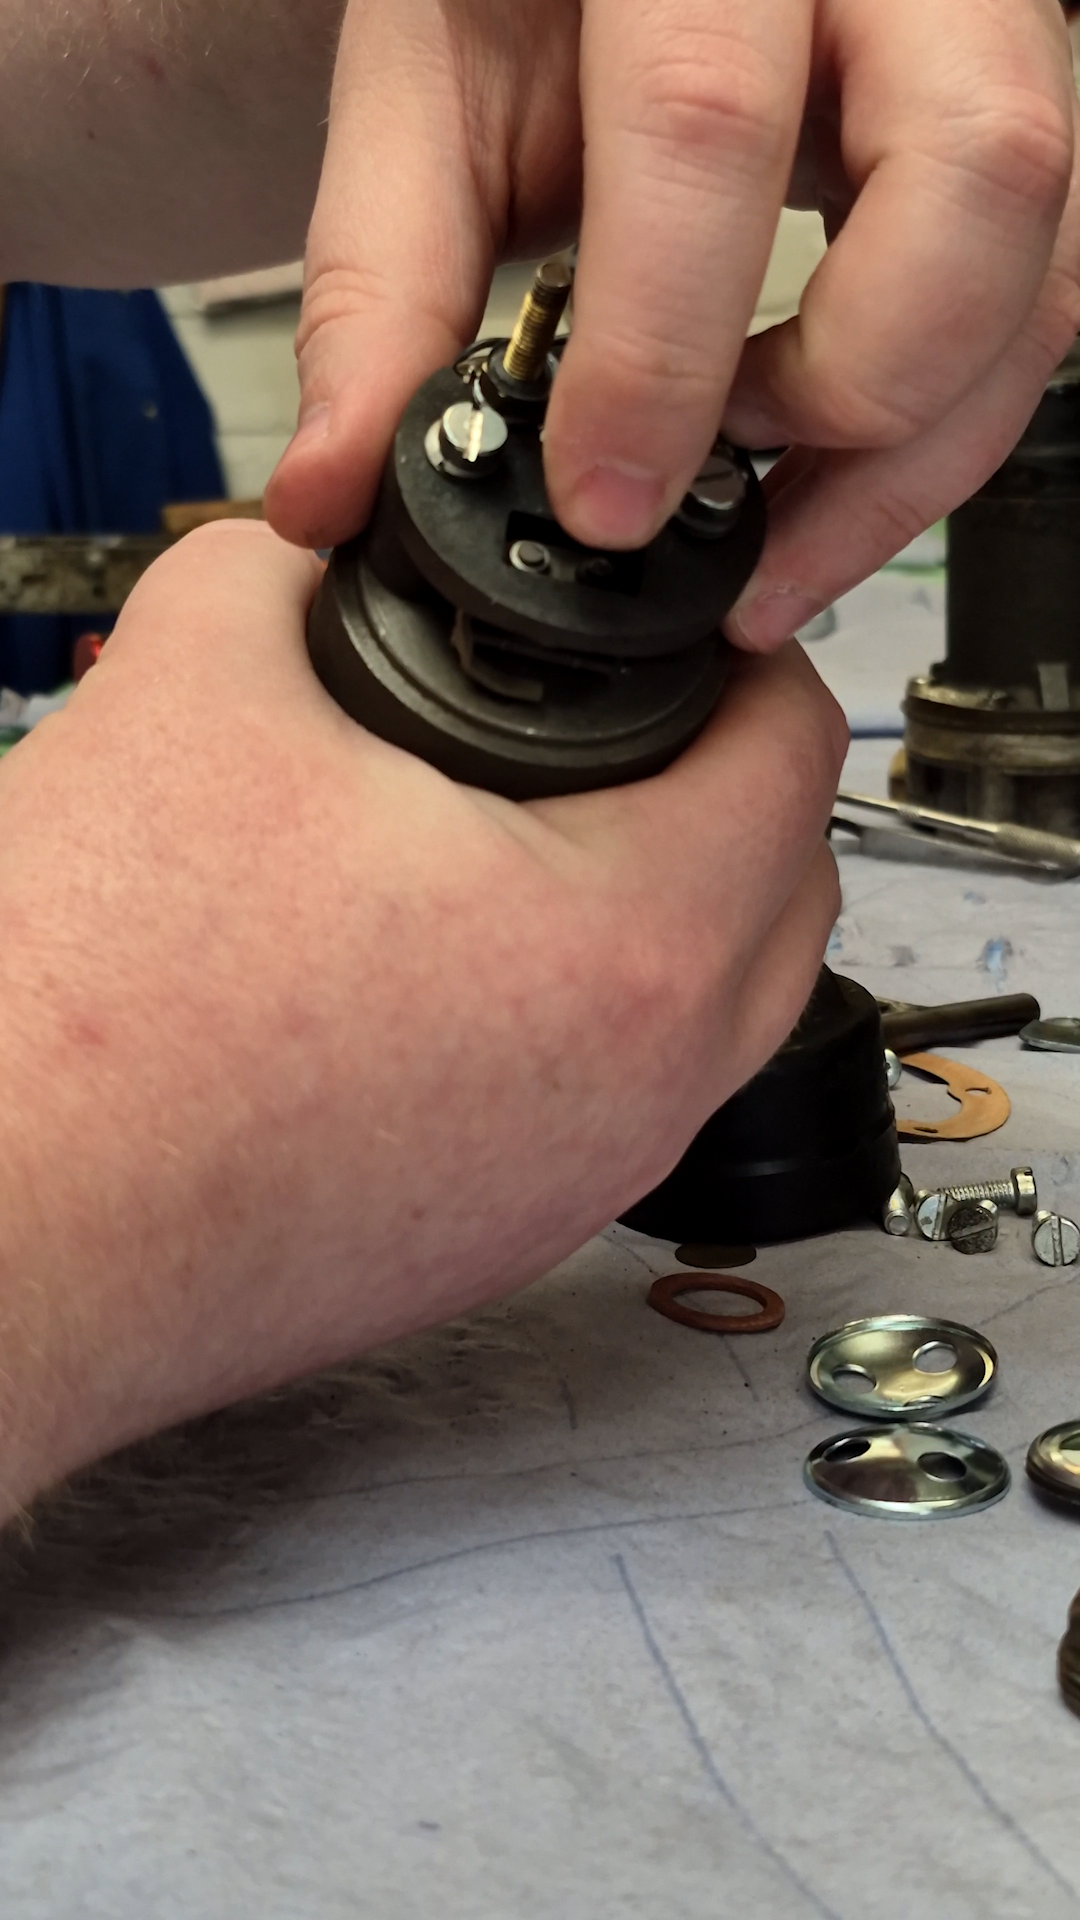
These two need to connect in order for the fuel pump to continue working. However, if you have two bare metal connections connecting to one another, they're going to spark, leading to what is known as ‘carbon scoring’ which affects the connection.
To mitigate this risk, we recommend applying a few drops of contact oil to the rocker assembly to allow smooth action, and to ensure there's nothing that's going to stick while the rocker is running.
If at any point you've had to clean your rocker assembly, you may have removed that oil, so remember to re-add the oil. This will allow the rocker to continue to move freely.
To conclude, the key thing that can cause issues in fuel pumps is usually a valve. If you’ve got an old fuel system with old fuel lines in your classic car, the last dregs of fuel will contain dirt and debris. This gets sucked up through your pump, get caught in your filter assembly, and then as it disintegrates in the filter, it can get stuck in the valve and jam up while the pump is running. If this happens, don’t panic - it's something that can be fixed very quickly and very simply.
Our SU fuels pumps are designed to run as long as possible, with as little maintenance as possible. Every single pump is tested here to a high standard and built using parts made as per the SU specifications for each design. Effectively, if the pump doesn’t pass that particular standard, it is not sent out to the customer.
Check back on our previous videos which show our fuel pump testing stations in use. Our testers run each new fuel pump for approximately 5 minutes, just to ensure that the pumps are running as they should. They are stress-tested at a maximum pressure setting of 3.8psi for high pressure pumps, or 1.5psi for low pressure units, to ensure they flow the correct amount of fuel to make sure that the pumps aren't going to a suddenly fail.
If you do have any other things you'd like us to cover, or any other how-to manuals you'd be interested in learning from us at Burlen, please do get in touch.